Visiting Yosemite is a bucket list travel destination for people around the world. This is the perfect 1 week guide, although many visitors get even less to explore the park. I was fortunate to spend almost 3 months adventuring around Yosemite and compiled the perfect itinerary to use or modify for your trip. This list includes only the MUST SEE hikes, eats, lookouts, and areas of the park you cannot miss!
Table of Contents
Day 1 – Entrance to the Park
Enter through the Oakhurst entrance. I recommend starting at this side of the park because you can begin your trip with easy hikes to get acclimated to the elevation and climate. Day one’s itinerary is to see Giant Sequoias, explore Wawona, and enter Yosemite Valley. Drive a few laps around the valley when you enter to really appreciate the size, and get a feel for how traffic works in the loop. The earlier you get to Yosemite the better! If you are camping set up your tent early or check into your lodge and go explore on foot. Alternatively this is a great day option to explore if you are staying in Oakhurst.
1. Mariposa Grove
- 2 mile round trip hike with shuttle options
See some of the world’s largest and oldest living trees. Maximize your time by taking the shuttle bus from the Mariposa Grove parking lot to the Grizzly Giant loop. If you need more hiking, take the trail down instead of the shuttle bus.
Travel Tip: Take the FREE Mariposa Grove Shuttle to the top. Hike around the top area. Then, hike back down to the parking lot. You will not miss anything hiking up the hill from the parking lot.

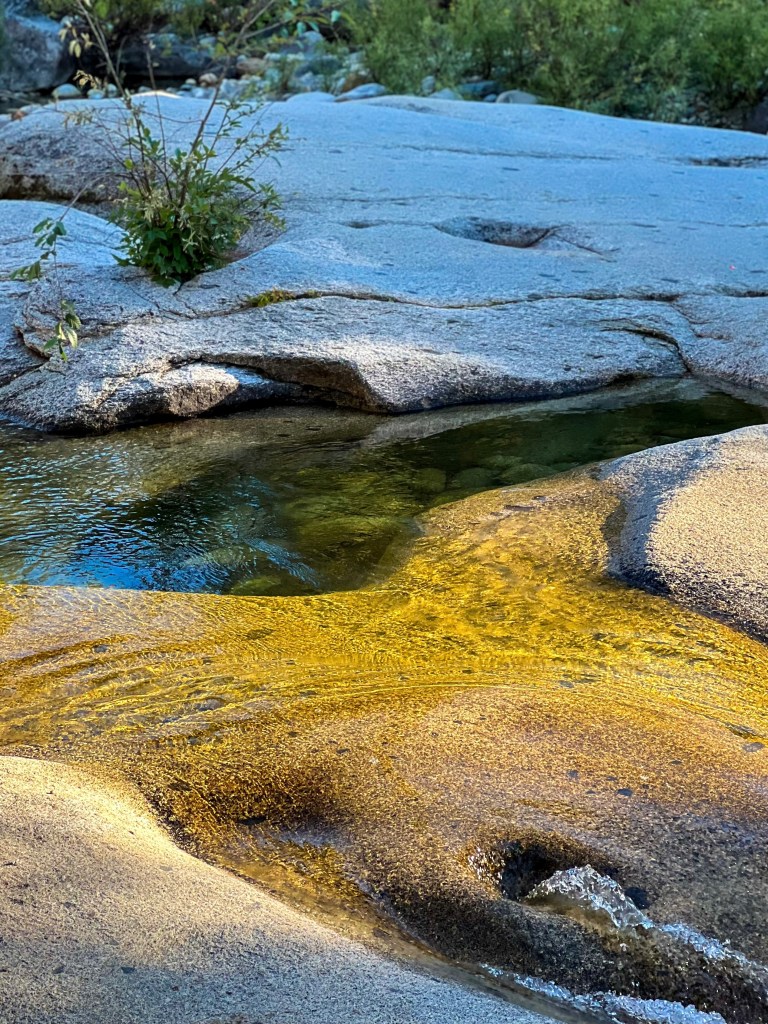
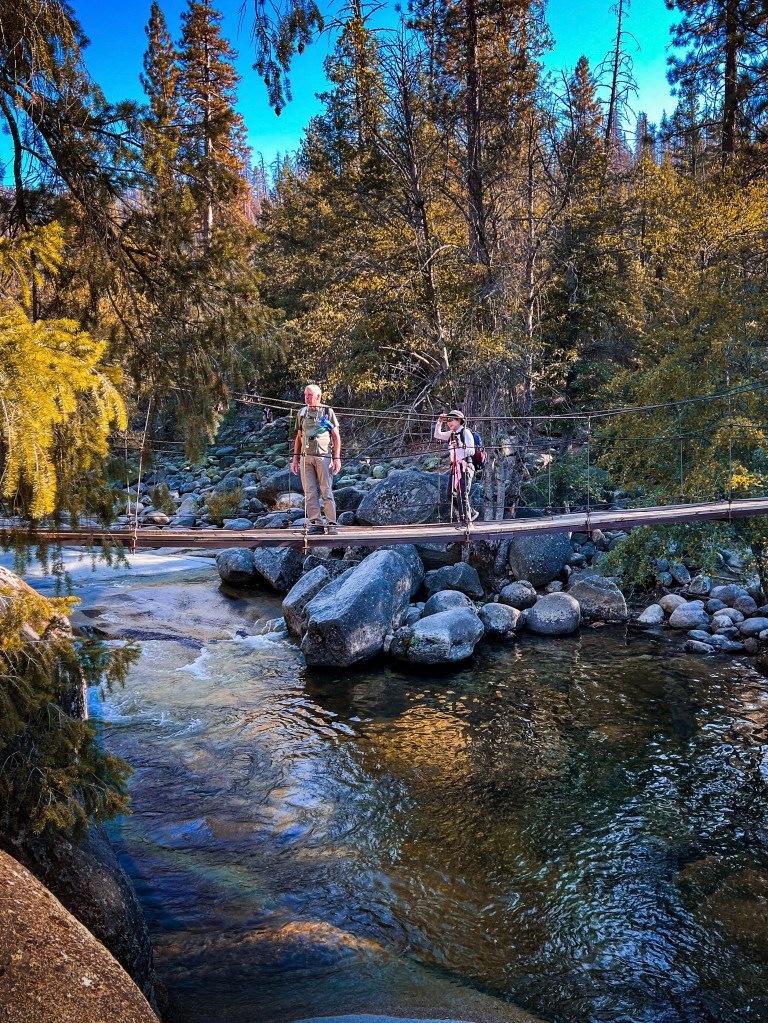
2. Wawona Swinging Bridge
- 1.4 mile round trip hike
One of the best hidden gems Yosemite has to offer. The Swinging Bridge hike is tucked away just inside the town of Wawona. The flat dirt trail ends at a swinging bridge over the river AND there are swimming holes everywhere. Don’t forget to hit up Chilnualna Falls, an quick lookout at the trail junction to the bridge. The lower cascading falls is quite spectacular and you can easily access it by going left up the dirt trail for about 300 meters. After seeing the falls turn around and go back to the fork where you will go down the hill and continue on the flat dirt path to the swinging bridge. You can also add an 8.4 mile hike by continuing up to the top of Chilnualna Falls if you want more hiking at the beginning of your trip.
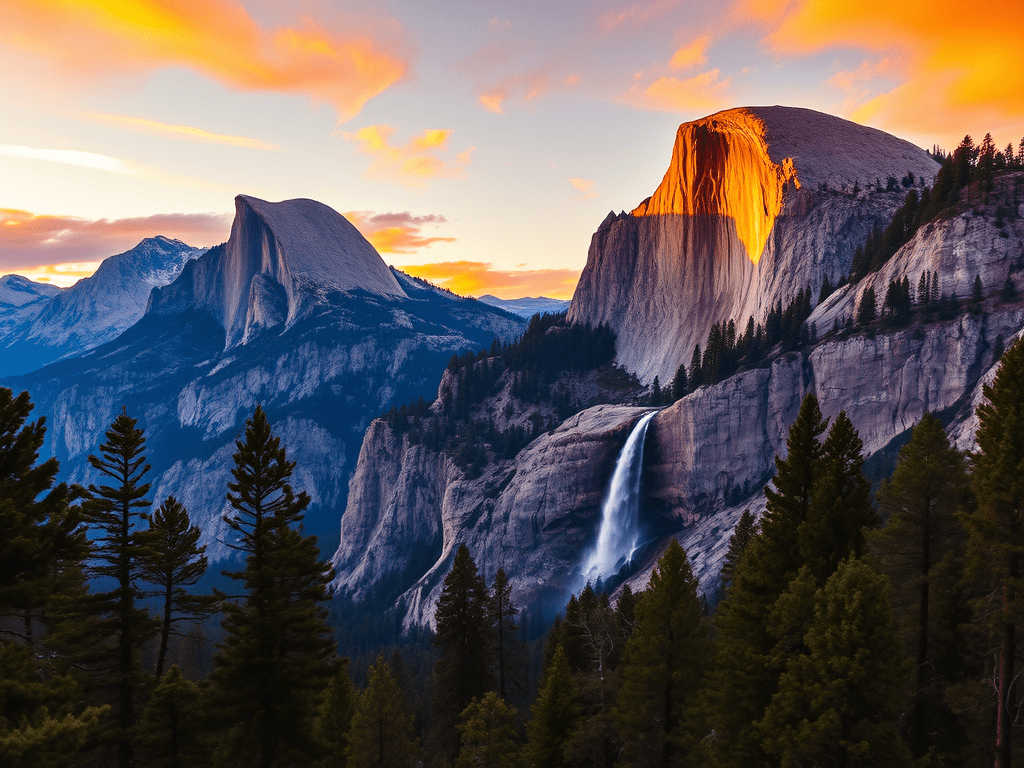
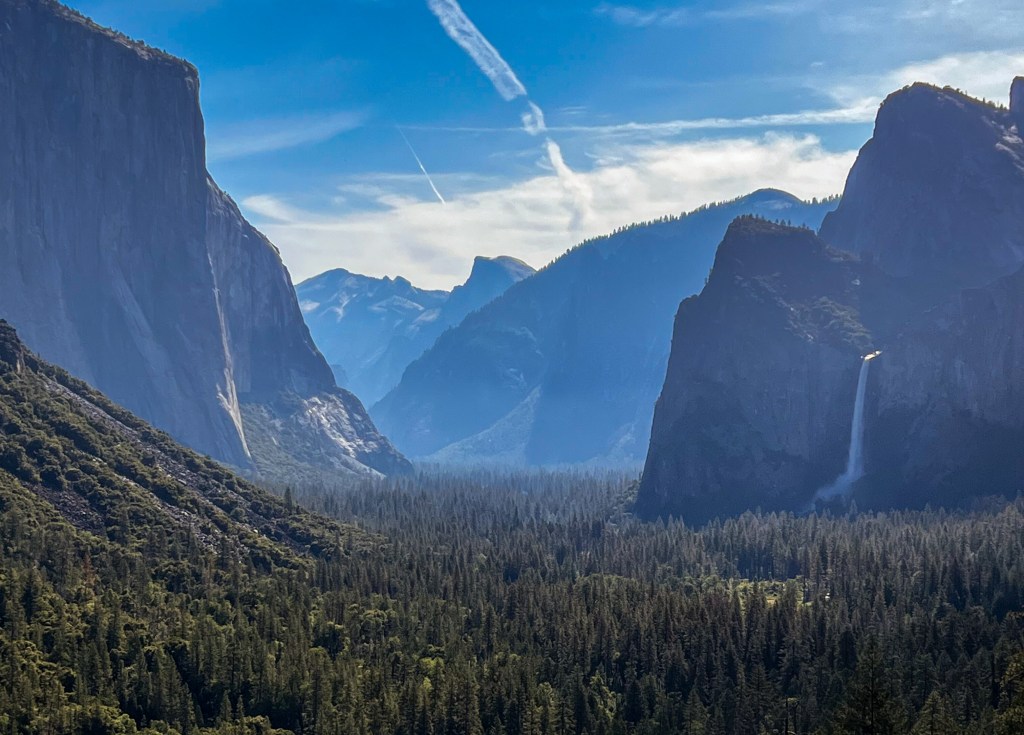
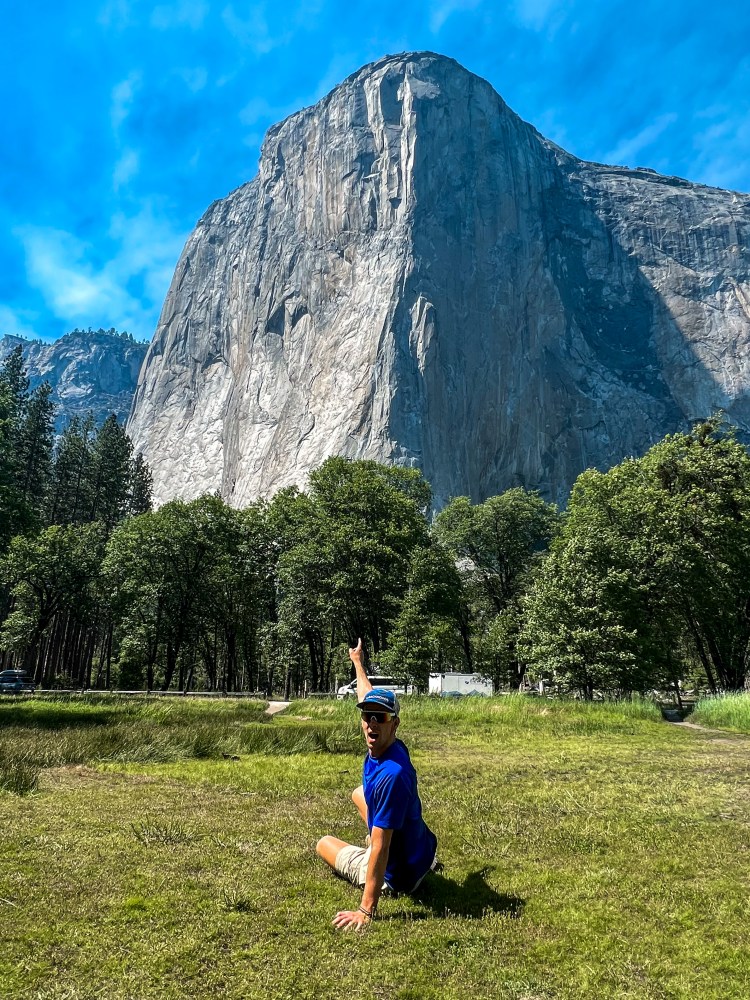
3. Tunnel View
Pull over at the Tunnel View lookout when you first enter the valley, especially if you are a first time visitor. You will be blessed with an amazing view of Bridalveil Fall, El Capitan, Sentinel Dome, Half Dome, and the valley floor covered in its thick dressage of pine trees. As you drive in take note of the layout of the valley so you can orient yourself for later in the week. This is also a great spot to venture back to for sunset, and there are a few different trail options here if you want a quick hike.
Day 2 – Hiking to Glacier Point
If you are staying in the valley, drive towards the South entrance and up Glacier Point road. There are many ways to do this day but my favorite is to do Taft Point and Sentinel Dome first, then drive to Glacier Point and explore the lookout. If you want more hiking do the Sentinel Dome loop from Glacier Point, or hike from the valley floor to the top on the 4 Mile Trail. Start early, because parking can get hectic at the top.
1. Taft Point
- 2 mile round trip hike
One of the steepest drop-offs in Yosemite Valley, this 2 mile round trip hike takes you to a lookout facing El Capitan. Do not park at the first Taft Point parking lot. There is another less crowded one past that lot with a bathroom. The hike is flat with a small descent to the lookout point, and uphill coming back. The limited parking here can be a nuisance in the afternoon when more people arrive in the park, so knock it out early. I recommend a quick out-and-back with the Sentinel Dome add-on, then relocate to the Glacier point parking lot.
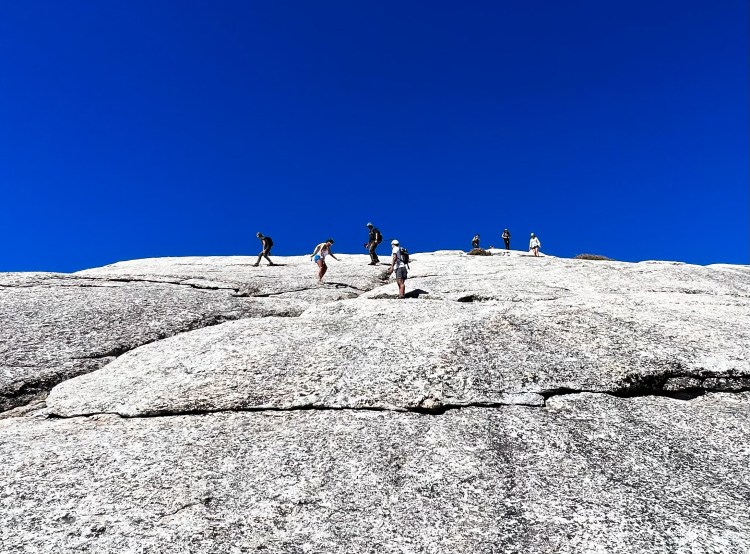
2. Sentinel Dome
- 2.2 mile round trip hike
The shortest path to the dome is from the Taft Point parking lot, following signs to the right backside of the dome. Ascending may look more intimidating than it is, just go slow with small ‘S’ curves to the top. The granite is very grippy and the 360 degree views from the top are worthwhile. If you want to add mileage you can make it a loop starting from Glacier Point, but this is a steep climb up to the dome.
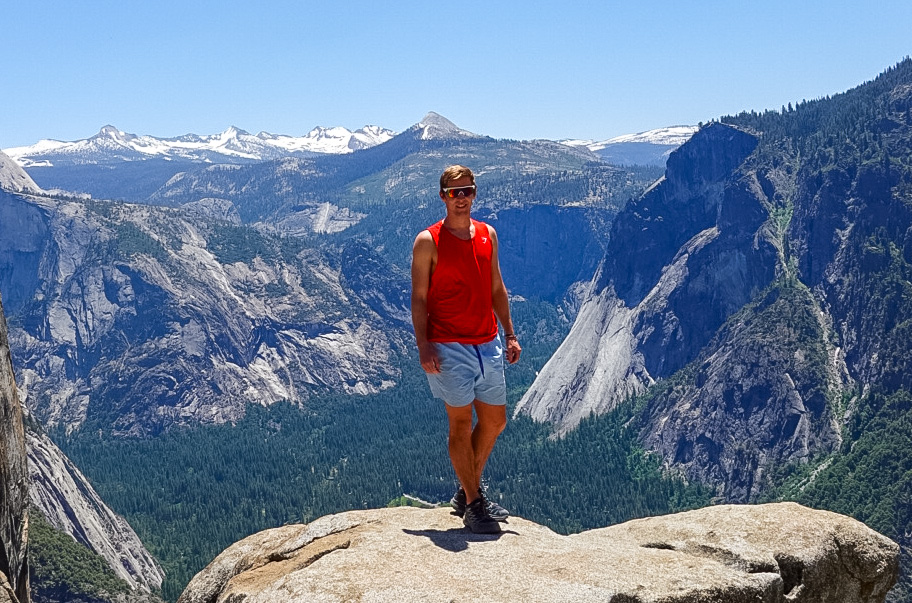
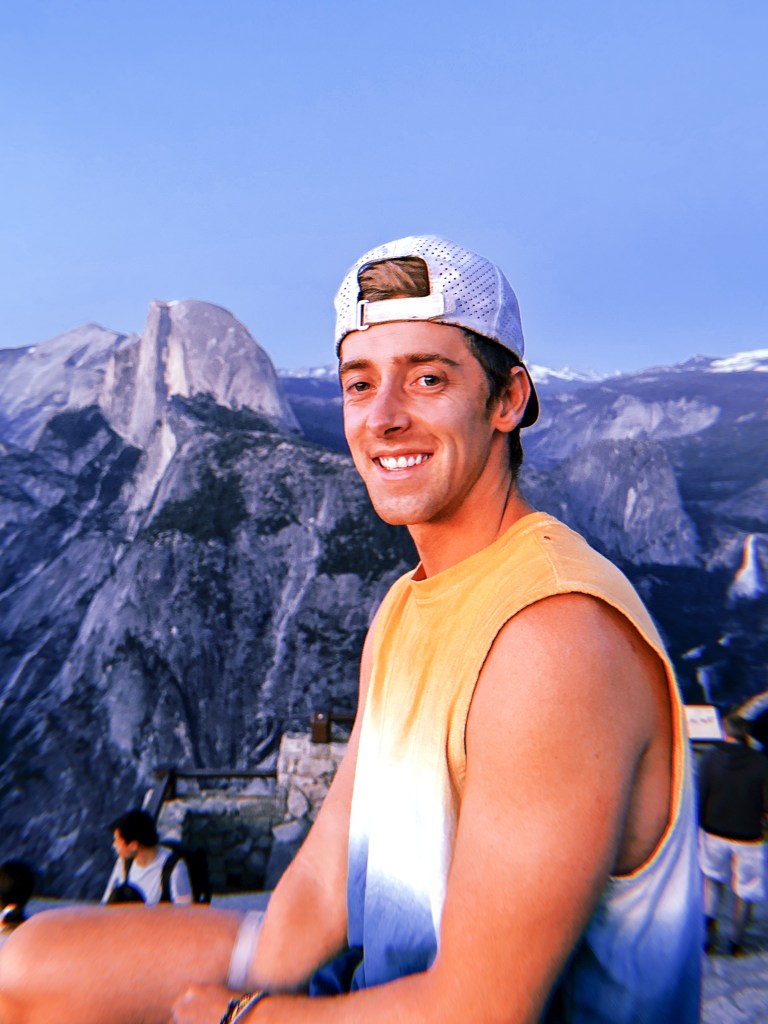
3. Glacier Point
If you only do one thing in Yosemite, head up to Glacier Point. This lookout gives you vantage points of El Capitan, Half Dome, Yosemite Falls, Curry Village, Mirror Lake, Vernal Falls, Nevada Falls, and so much more. A short paved walk from the parking lot leads to an outdoor amphitheater, geology museum, gift shop, and the lookout. I spent a lot of time up here while visiting Yosemite. Whether you drive up, or hike the 4 mile trail to the top, the views will not disappoint. This is also one of my favorite spots for a last minute sunset and some star gazing. The 4 mile trail from the valley floor connects to the point lookout from the valley floor, but be prepared for many steep switchbacks and closer to 5 miles.
Day 3 – The Mist Trail
One of my favorite days exploring Yosemite, with options to hike to multiple waterfalls. You need to pack as if you are getting soaked with water for the Mist Trail and prepare for an entire day of hiking if you include Nevada Fall in your plan. Start early, the earlier the better.
1. The Mist Trail to Vernal Fall & Nevada Fall
- 5.4 miles Mist Trail and John Muir Bypass. 8 miles with Nevada Fall.
Truly a breathtaking experience at the right time of the year. The hike begins on a paved steep road to a bathroom and water refill station below access to the falls. If you continue hiking you can choose to ascend the famous Mist Trail stairs or join the John Muir Trail over the pass. Early in the spring and summer the Mist Trail stairs can be closed due to high water levels and/or maintenance. Later in the season you may not experience any mist due to lower water levels.
There is a great lunch spot at the top of the stairs overlooking the fast-flowing river cascading over the falls. I have seen horrifying videos of people hopping the fence at this spot for a better pic, but I promise you it is not worth it and there are much better vantage points later in the trail. I spent a lot of time talking with Yosemite Search and Rescue and they had many awful stories of body retrievals from beneath these falls. Don’t risk it!
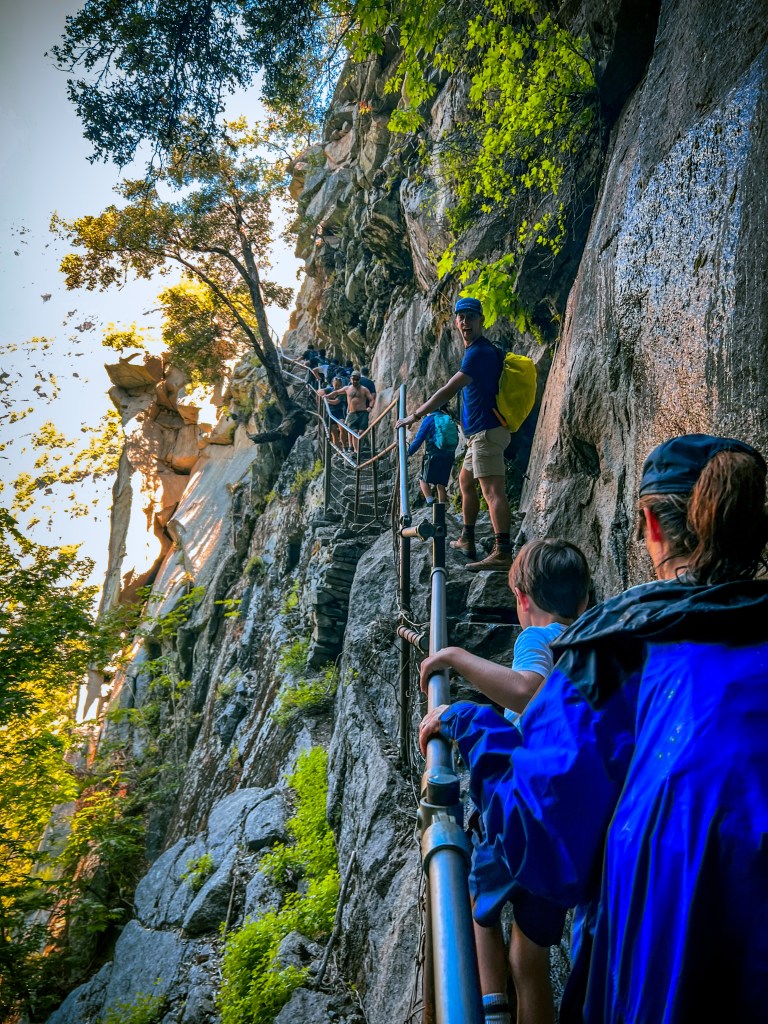
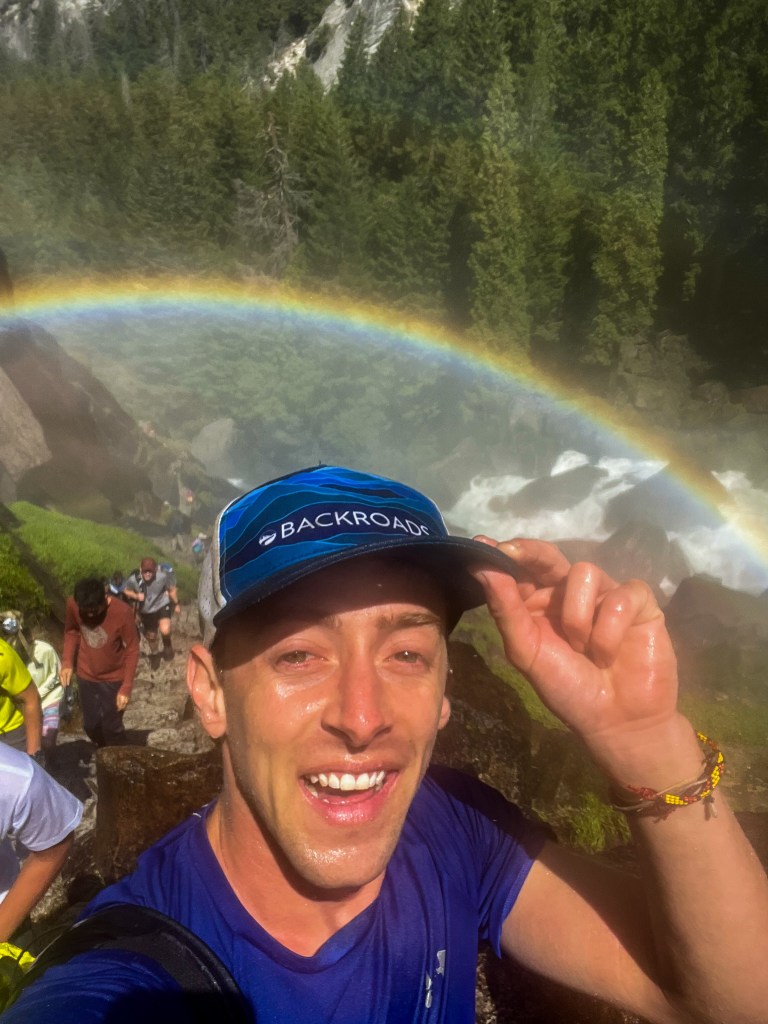
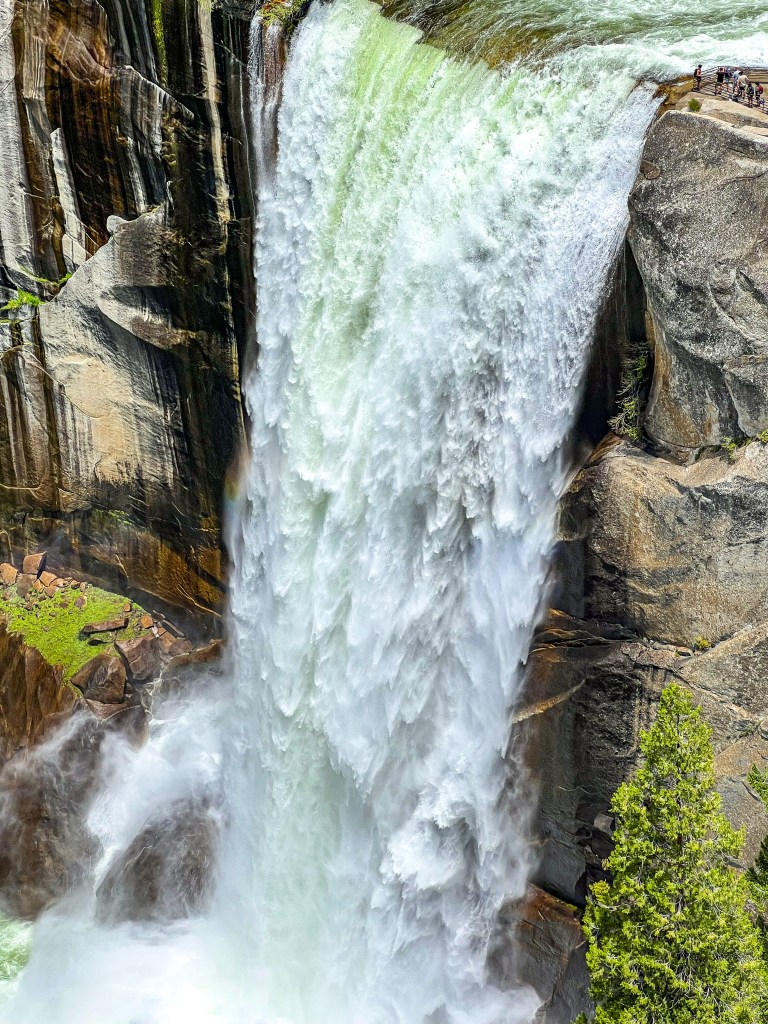
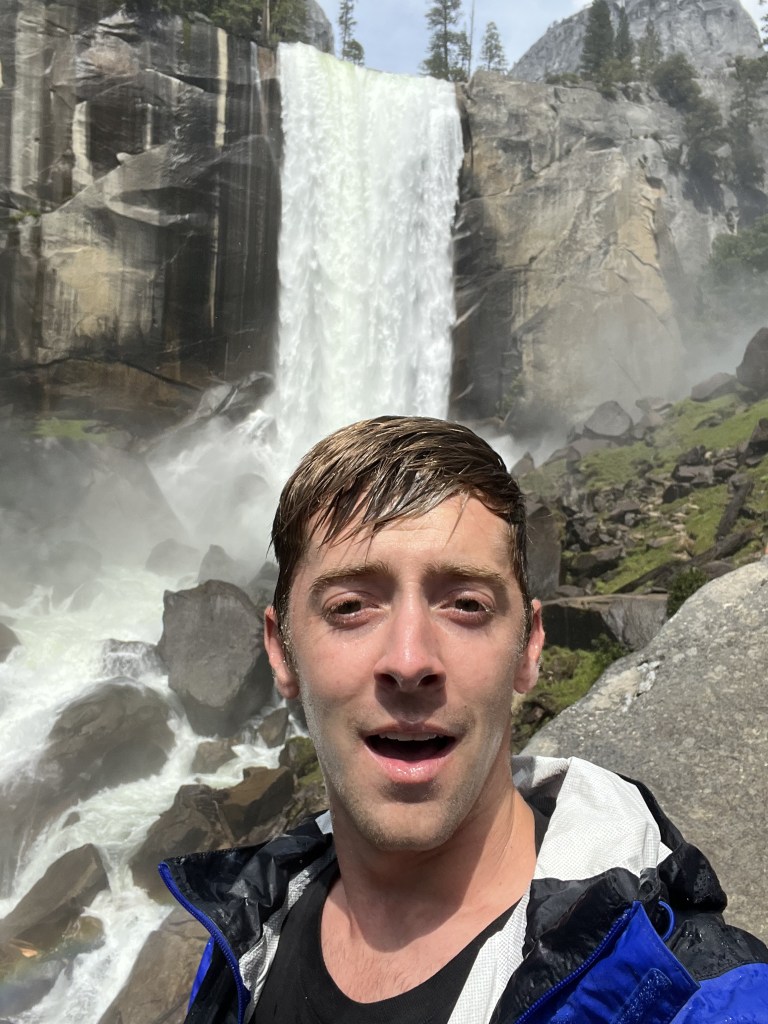
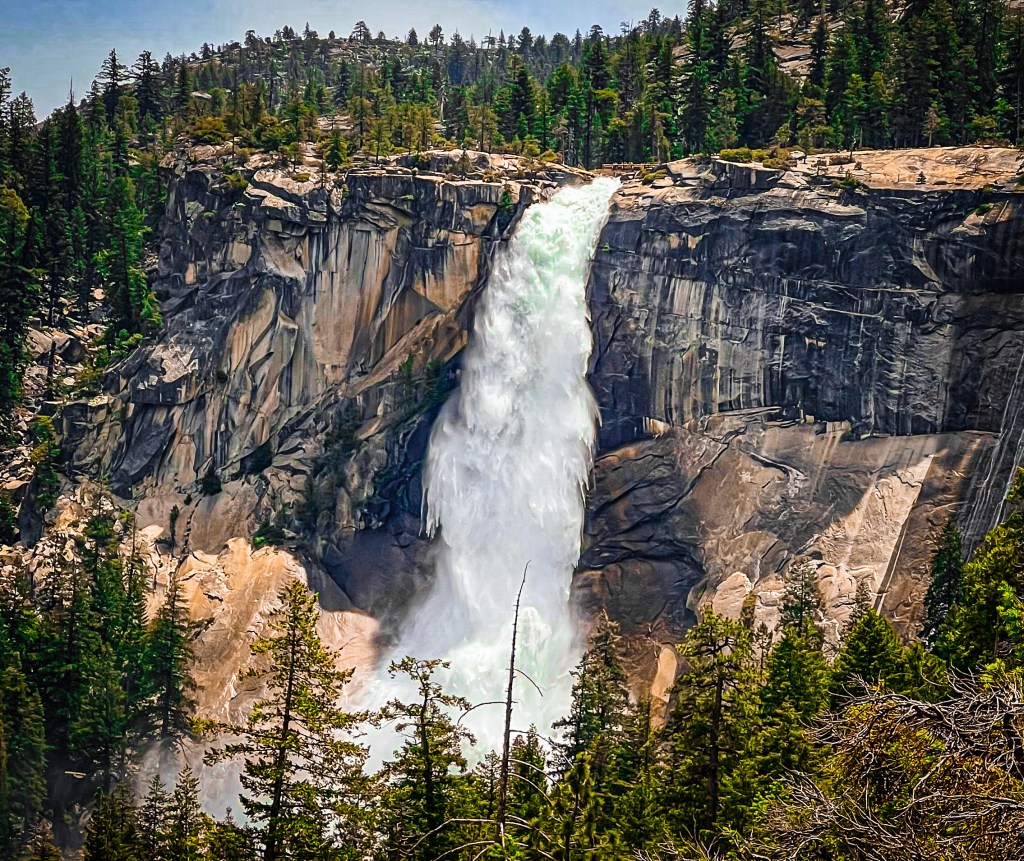
If you climb the stairs, you will likely get soaked so be prepared with a bag cover, waterproof hiking shoes, and a change of socks. I bought trash bags to protect my electronics and food, a dry bag would be the best option. The stairs get crowded and there are steep sections with some decent exposure. The safest way back to the trailhead is by the John Muir Trail, down the switchbacks behind the pass. Added benefits to the John Muir Trail are an amazing aerial viewpoint of Vernal Falls, DON’T MISS IT! For additional hiking skip the John Muir turn off for now, and continue up to the 600 ft. Nevada Fall. (budget an extra 4 hours if you plan to break at the top)
Nevada Fall is an awesome addition to this hike but be prepared it is a steep ascent and could add an additional 2 to 4 hours to your day depending on your pace. The trail continues past the John Muir turn off, then crosses left over the river to circle up to the falls. This trail splits again at a junction that would lead you to Half Dome and Cloud’s Rest. If you are even more ambitious during your trip, these would be great options to add to your itinerary. You can continue across the falls and connect to the John Muir Trail via the Panorama Trail, but it is faster to descend back to the trail junction by the top of Vernal Fall.
Day 4 – Yosemite Falls
One of the longest days and hikes, but definitely one to prioritize if your legs can manage. This day’s adventure is hiking to the view, and effort, you are satisfied with. It is a hard hike with amazing spots to turn around the entire way to the summit. Start at Lower Yosemite Falls, hike to the base of Upper Falls, to the top of Upper Falls, and finish at Yosemite Point. Start early and bring food.
1. Yosemite Falls to Yosemite Point
- 8.7 mile round trip to the point. 7 miles to the top of Yosemite Falls.
This is one of the hardest hikes out of Yosemite Valley, and will require almost 6 hours of your day. If there is no water in the falls later in the season, the hike is still worth it because of the summit finish.
To start the hike approach the granite walls between Camp 4 and Lower Yosemite Falls to find the Upper Yosemite Falls signage. The hike begins with a series of short and steep switchbacks to the tree line, hugging the wall below Columbia Rock. The first section of this trail will take you to the base of the upper falls, before beginning the next strenuous section to the summit.
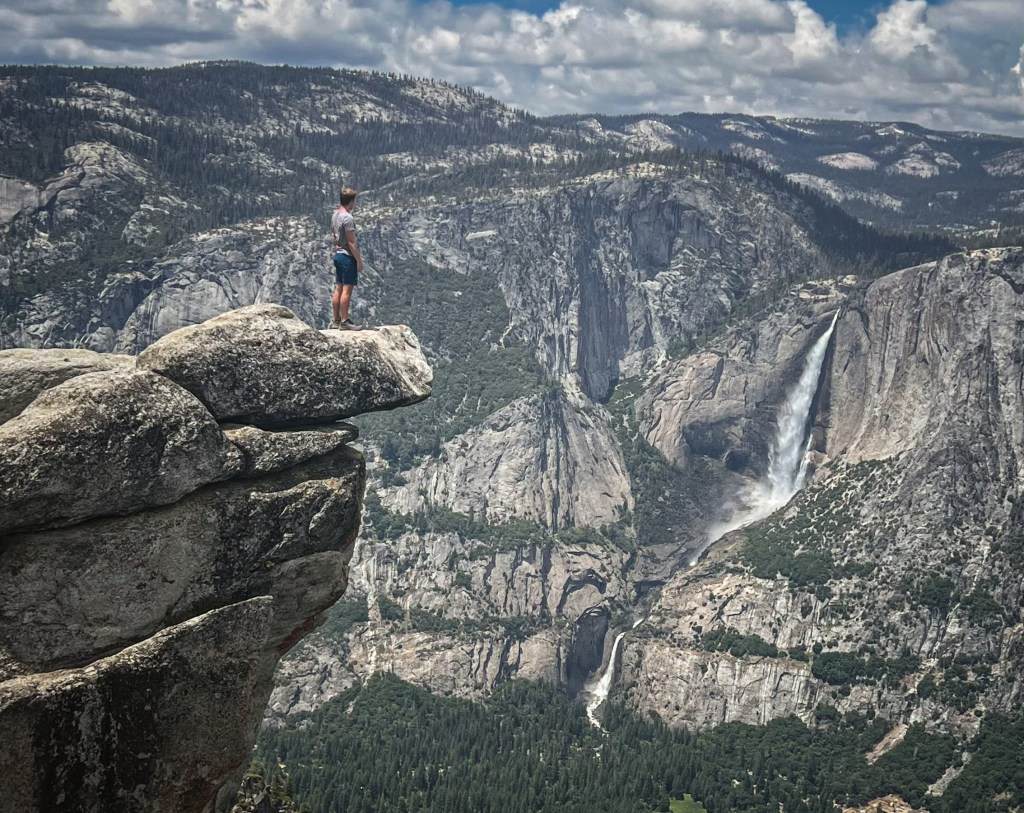
Pro Tip: Where you first see the upper falls after coming over the shoulder below Columbia Rock, there is a small side trail that appears to go down. Take this about 20 feet into the trees where there is a secret lookout called, “OMG Point”, where you can see all of the falls, where this picture below was taken.
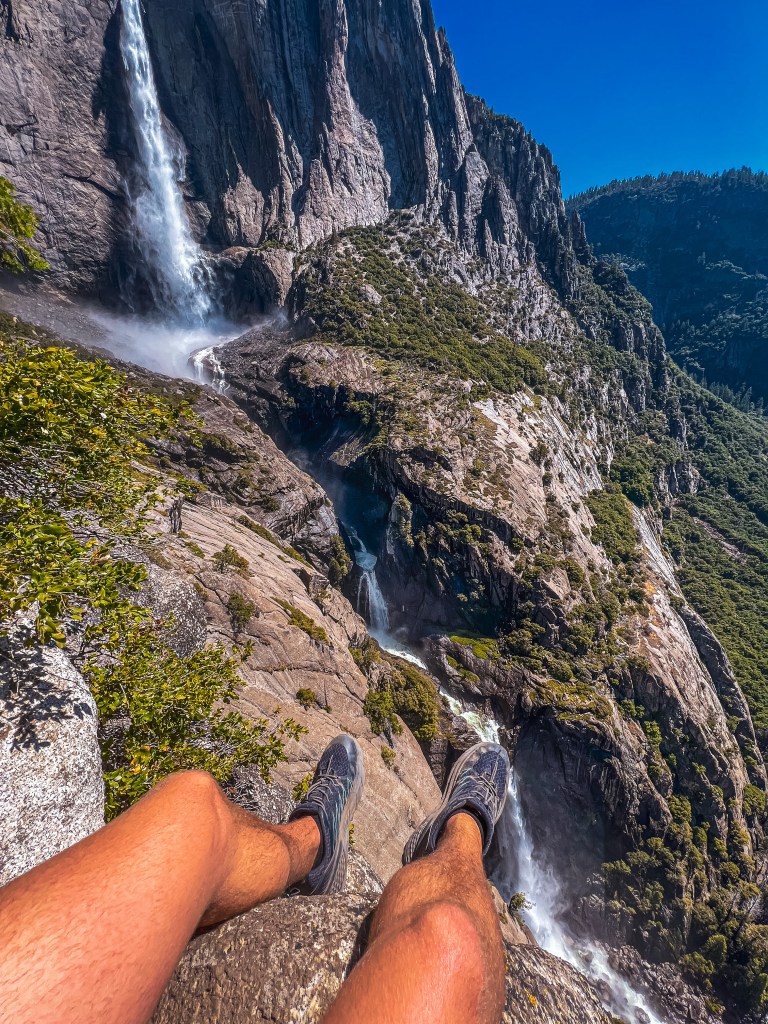
After grabbing a snack at the base of the falls you begin a never ending switchback stair climber to the granite summit. This is a difficult section and it will take you a long time, plan for longer than you think. The trail is composed of lose rocks, dirt, granite steps, and boulders you need to ascend to the top. At the top traverse a rocky section along the river to the drop off.
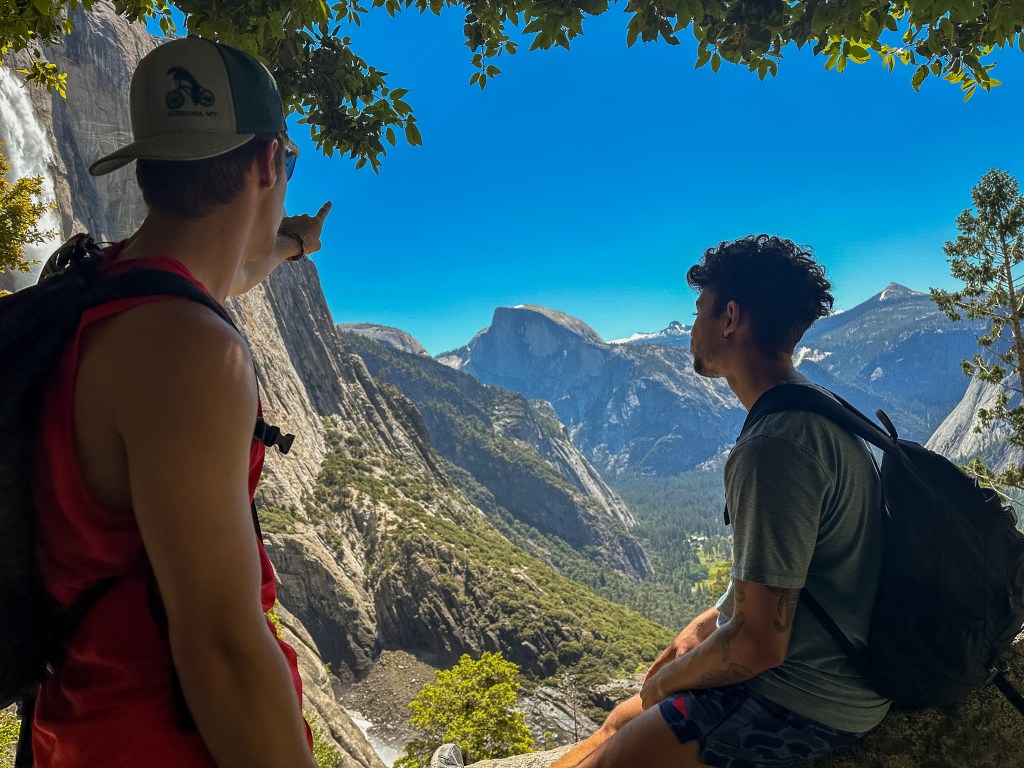
There are stairs descending the lookout that peers over the falls and I recommend doing this. If you continue across the bridge you climb to Yosemite Point with stunning panorama views of Glacier Point, Curry Village, Half Dome, Vernal Falls, and the Panoramic Trail. If you are already buggered out Yosemite Point is ok to skip. I think the views from the opposite side of the valley at Glacier Point are more dramatic.
Day 5 – Beach and River Day!
Beach, river, and relax day! Make a picnic at any Merced River beach and have fun splashing and soaking in the sun. You can rent bikes, sit in the meadows, float down the river, or hike to Mirror Lake. The valley is the best place to be before heading home.
1. Sentinel Beach
One of the best swim and picnic beaches in Yosemite Valley! This scenic spot is right off the road nestled in the trees, with sand, and a shallow section of the river to wade or lie in. There are bathrooms and parking available. You can also easily walk here from any section of the valley due to its central location. The valley shuttles have a stop for this beach.

2. Mirror Lake
- 2 mile round trip hike
Photographers say 3pm is the best time of day to visit the lake, as the water makes an impressive reflection of the surrounding cliffs and half dome. You can ride bikes up the paved left side of the trail for easier access. Just have fun exploring the pools and shoreline, there are picturesque photo opportunities everywhere you look.
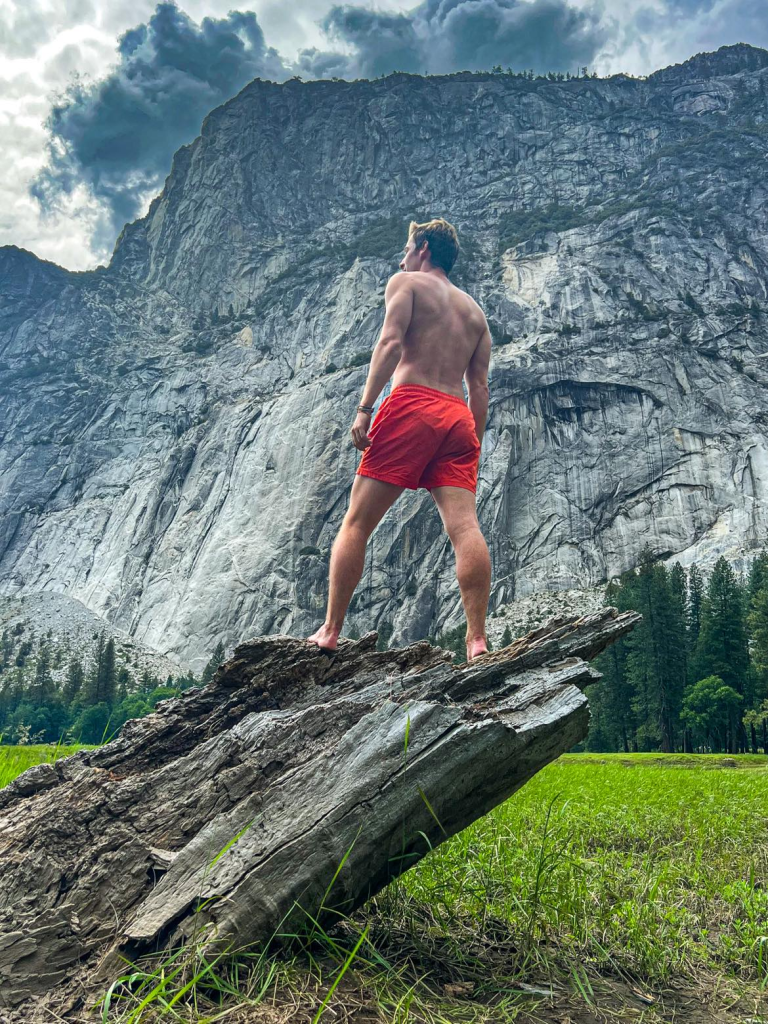
3. El Capitan Meadows
One of the most scenic and peaceful places on Earth. Pull your car off on the side of the road and find a spot to sit in the meadows, my favorite is by the massive downed tree in the center. Watch hundreds of rock climbers on both sides of the valley and come back for star gazing when it gets dark.
Day 6 – High Country and Tuolumne Meadows
Long day for driving and hiking especially if you are staying in the valley. Stop at Olmstead point or Tenaya Lake to break up the drive and bring a lunch. There is a gas station at Crane Flats on the way if you are low. Start early.
1. Tuolumne Meadows
You will drive by some of the most picturesque high country meadows that dreams are made of. These meadows sprawl out, usually filled with wildflowers, grazing deer, occasional black bears, and burbling springs. There are many easy day trails or enjoy a relaxing drive through the meadows.
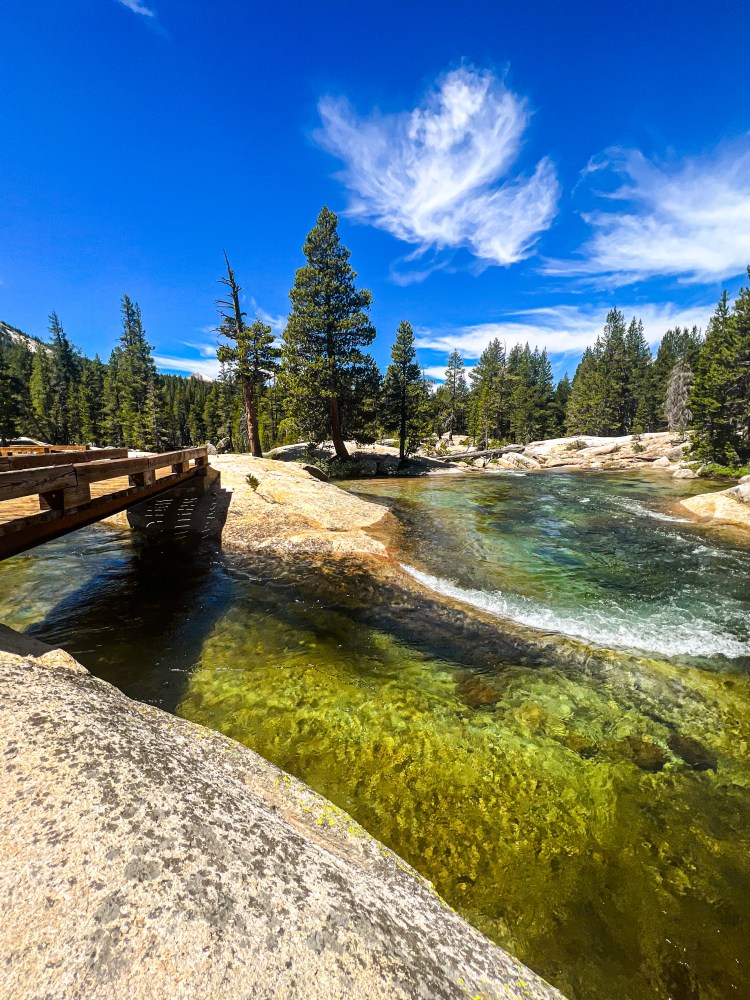
2. Lembert Dome & Twin Bridges
- 3.5 mile hike
The best way to do these hikes are to park your car at the base picnic lot below the face of Lembert Dome, linked in my map below. You will cross Tioga Pass onto the dirt trail and take a left. Follow the trail’s forks to the right, crossing over a small bridge, eventually ending at Twin Bridges. This is a great lunch or picture spot, where you can soak your feet and prepare for the ascent up the dome. I loved cooling off in the icy mountain water, and floating under the bridge.
After you are done at the bridges, retrace your steps to the earliest forks where a trail leads to a parking lot with the start of the Lembert Dome ascent hike. This is NOT the same lot you parked in. There is a trail connection in the next lot further up Tioga Pass towards Mammoth. You connect with the trail at the back of the industrial parking lot and go almost straight up for about a mile. This trail connects to junction where the ascent chute is on the left and the trail back to the base continues straight. I promise the steep part will be over before you know it, it is like a sprint.
Pro Tip: The easiest way to climb Lembert Dome is to continue past the false summit, looking on the ground for a definitive crack that cases up the left side of the dome. Following the crack will take you on the easiest path.
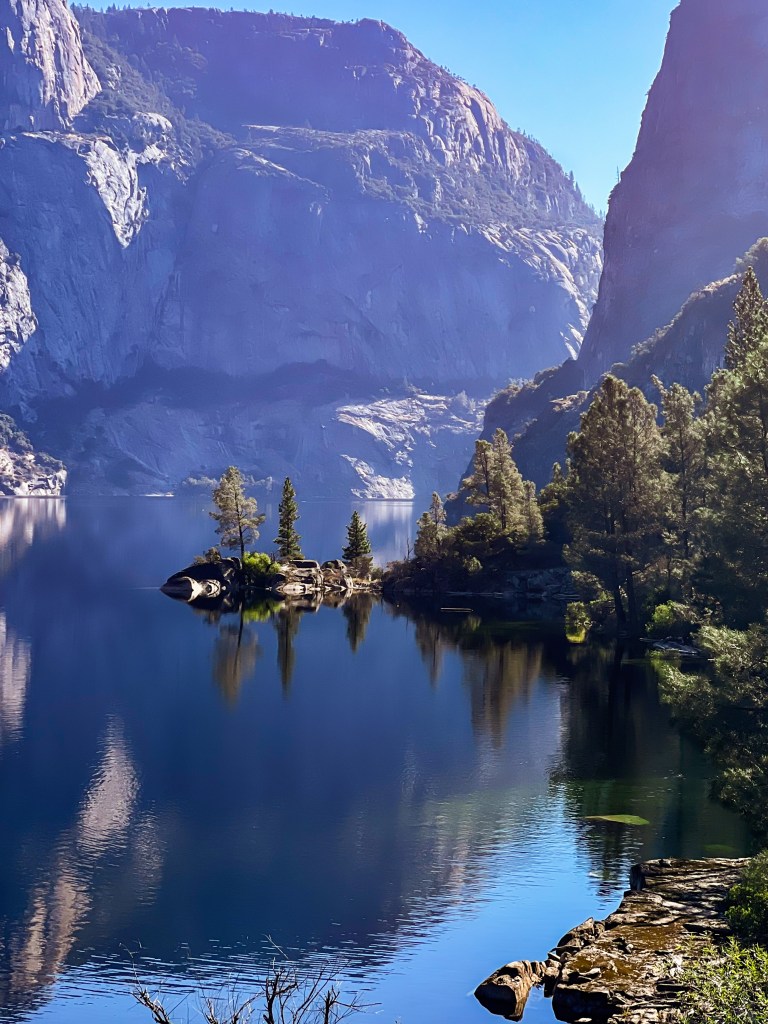
Day 7 – Exploring Hetch Hetchy and Little Yosemite
This side is a long morning drive from most areas of the park, unless you are staying at the Rush Creek or Evergreen Lodge. Get to Hetch Hetchy before 10am to beat crowds and avoid the heat, especially in the summer. Either hike to the prominent lookout at halfway, or continue to Wapama Falls.
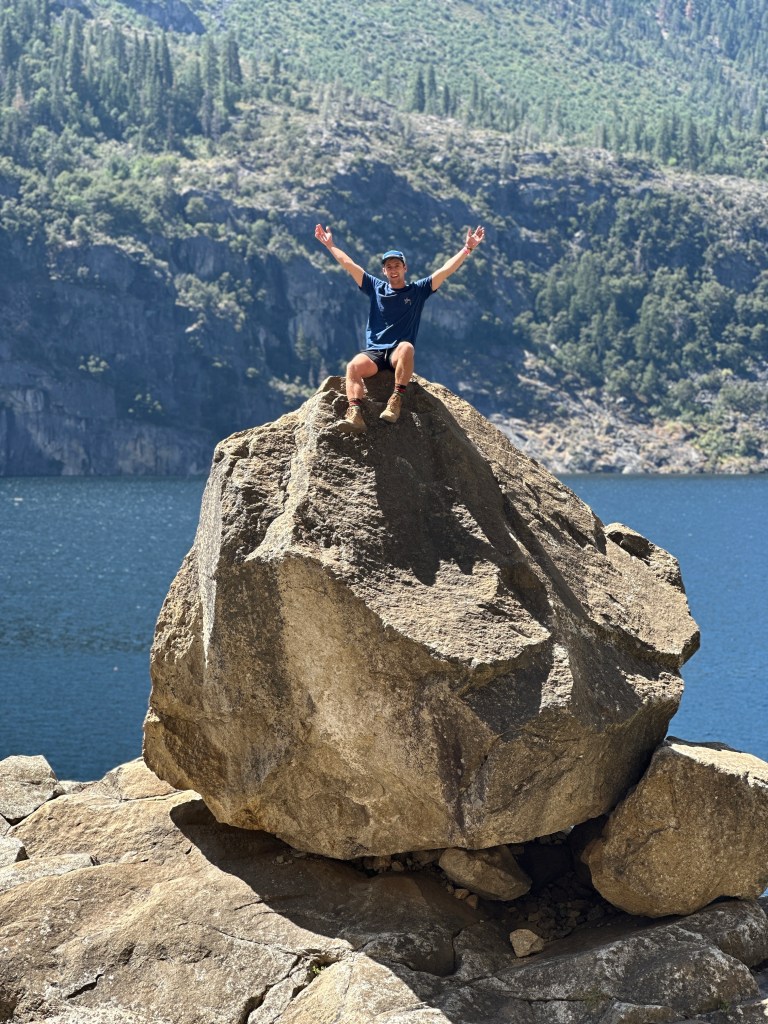
1. Hetch Hetchy ft. Wapama Falls
Walk across the dam and you will be able to witness its awesome power, rainbows, and perfect water reflections in the reservoir behind you. This dam is a huge point of contention in the history of Yosemite and my friends at the Little Yo Pod have a great Hetch Hetchy episode perfect for your drive in! Continue on the trail to Wapama and Tueeulala Falls which offer a refreshing mist for your hike back. Tueeulala Falls may be dried up later in the season so do not rely on it as a landmark. It is illegal to swim in the reservoir, but I’ll include other waterfalls you can visit on your way back to the highway to swim in. The views of the reservoir are the same the entire way to the falls, so hike until you feel like turning around.
2. Carlon Falls
- 3 mile hike
This short hike next to the river will take you to the small, but relaxing Carlon Falls and lounging rock pools. The hike is mild with two sections of a steep assent. The ground is mixed rock and loose dirt the entire way, finishing at the pool below the falls. There is a small cave you can swim inside to go behind the falls, and this is a great stop if you need an extra early morning hike or afternoon dip. Parking is paid on the right side and free if you find a spot in front of the trail on the left.
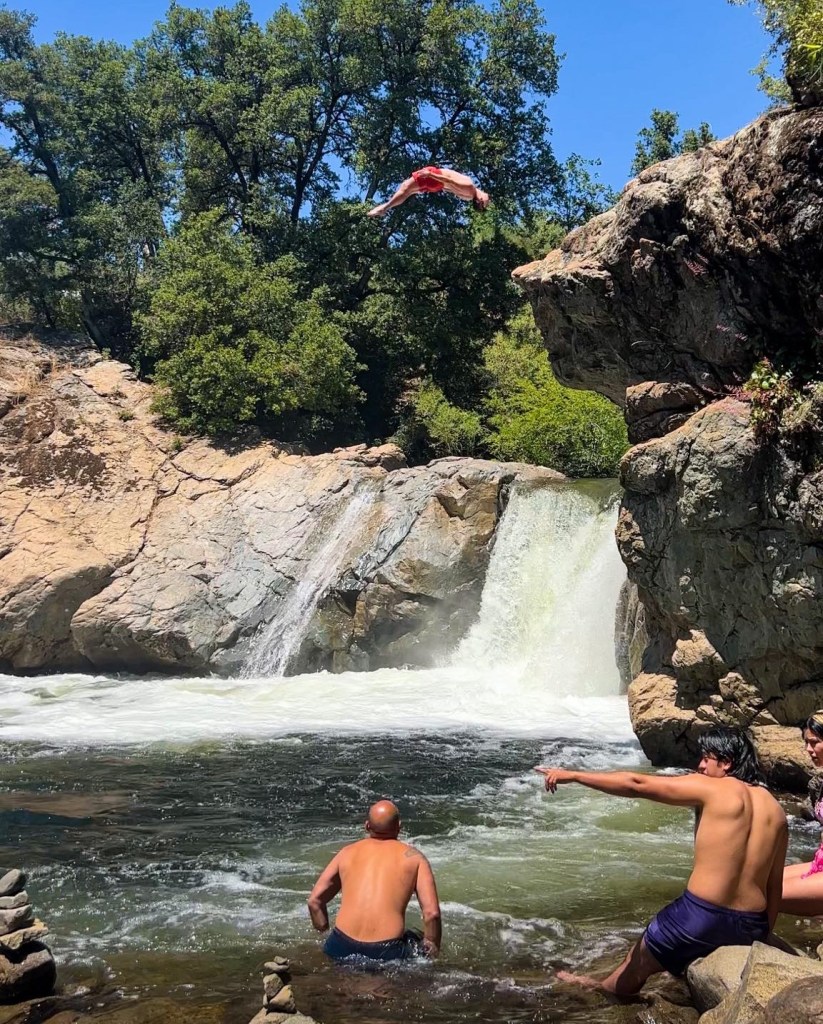
3. Rainbow Pools
One of the most epic cliff jumping spots in the Yosemite area. This is one of my favorite places to hang out if you are staying at the Rush Creek or Evergreen Lodges. The falls is on the way to Groveland with a small parking lot. Sometimes there are restroom maintenance staff at the entrance requiring a $10-$20 entry fee. We drove around the corner and parked under the overpass for free. The cliff is a 10-15ft jump into a small pool. Always depth check, especially late in the season!
WHERE TO STAY
Staying in Yosemite has many different options that cater to any type of traveler. You can stay in accommodations in surrounding towns, or stay inside the park at a hotel or campsite. If you only have 1 week in Yosemite, I suggest planning ahead to get accommodation inside the park to maximize your adventure time, and minimize your driving.
Travel Tip: There tends to be long lines at the park entrances you have to contend with if you stay outside the park. If that is your only option I suggest staying on the East side near the El Portal entrance.
Hotels Inside the Park
- Awahnee Hotel (Best for location and View)
- Yosemite Valley Lodge
- Curry Village
Hotels Outside the Park
- Yosemite View Lodge (Near El Portal Entrance)
- High Sierra RV and Mobile Park (Best for Budget and big families)
- Tenaya Lodge
- Rush Creek Lodge
- Evergreen Lodge
Camping
There are many campsites in Yosemite, some you need to book well in advance and some won through an online lottery system. If you are a rock climber or overall adventure person I suggest trying to win the lottery for a few nights at Camp 4. This is very last minute because they only do daily lotteries, but if you login immediately on opening you should get a chance for a spot. Camp 4 is my favorite for its central location, easy access to some of the best trails in the park, and proximity to amenities like the Yosemite Lodge Food Court, central store, and rentals. Book other campsites early because they tend to fill up about 6 months out.
WHERE TO EAT
There are plenty of restaurants, a grocery store, and a mess hall to visit when you get hungry in Yosemite. Here is a list of my favorites to try:
- Mountain Room
- Awahnee Buffet
- Curry Village Food Court – pizza, mexican, snacks, burgers
- Yosemite Valley Lodge Basecamp Eatery & Starbucks
GETTING AROUND
Yosemite is located about a 3 hour drive from San Francisco, California. Most visitors fly into SFO, Oakland, or Sacramento airports before driving in. If you do not want to rent a car you can hop on a Yosemite bus that will take you directly to the valley from Sacramento. Fresno, and San Francisco hubs.
Once inside the park there is a FREE Yosemite shuttle that operates around the valley. This shuttle accesses almost all the hikes on this itinerary and my ULTIMATE Hiking Guide, with a few modifications. You can rent bikes in the park which makes getting around the valley easy and fun! Another perk of being on your feet is you can use foot bridges to cross the valley in a few minutes, while cars have to drive around the entire loop if they miss a turn. Walking around the valley is one of the best parts about visiting Yosemite.
WHAT TO PACK
Being prepared in Yosemite is no joke, as this is one of the wildest place in North America. You are going to want to invest in good quality hiking shoes, trail gear, and essentials for your visit. I went through two pairs of shoes while hiking for 3 months and I could not have seen everything I did without a good pack and tools on me at all times. Here is an item recommendation list, and I have my favorite gear linked in my storefront here!

Tags
- Yosemite Itinerary
- Yosemite National Park Guide
- Best Yosemite Hikes
- Yosemite One Week Trip
- Yosemite Must-See Spots
- Yosemite Travel Tips
- Yosemite Falls Hike
- Glacier Point Yosemite
- Tuolumne Meadows Yosemite
- Yosemite Adventure Guide
- Yosemite Travel Blog
- Yosemite Packing List
- Yosemite Ultimate Hiking Guide
- Yosemite Hiking Trails
- Yosemite Valley Guide
- Yosemite Camping and Lodging
- Yosemite Views and Lookouts
- Yosemite Hidden Gems
- Yosemite Bucket List
- Explore Yosemite in 7 Days

Thanks for reading!
Make sure you like, comment, and subscribe to catch the next time I post!
AND Follow me on my social media!
Disclosure: Some of the links above may be affiliate links where I earn commission, if you make a purchase. I only recommend products and companies I use and the income helps me operate my site and travel!


Leave a comment